Clean, great-tasting water straight from your tap

Drinking Water Filter Installation Queen Creek AZ You Can Trust

Drinking Water Filter Installation Queen Creek AZ gives you clean, great-tasting water straight from the tap, no bottled water runs required. We handle under sink water filter installation in Queen Creek AZ for homes on well water and municipal supply alike. Queen Creek's hard water leaves scale and sediment behind, and a point-of-use water filter Queen Creek system catches what your softener misses. Most jobs are done in a single visit.

↗
Fast online booking

Request service today

Tell us what is happening. A local dispatcher will confirm your visit shortly.

No spam. No obligation. Just practical help.
Thanks — we'll call shortly to confirm your visit.
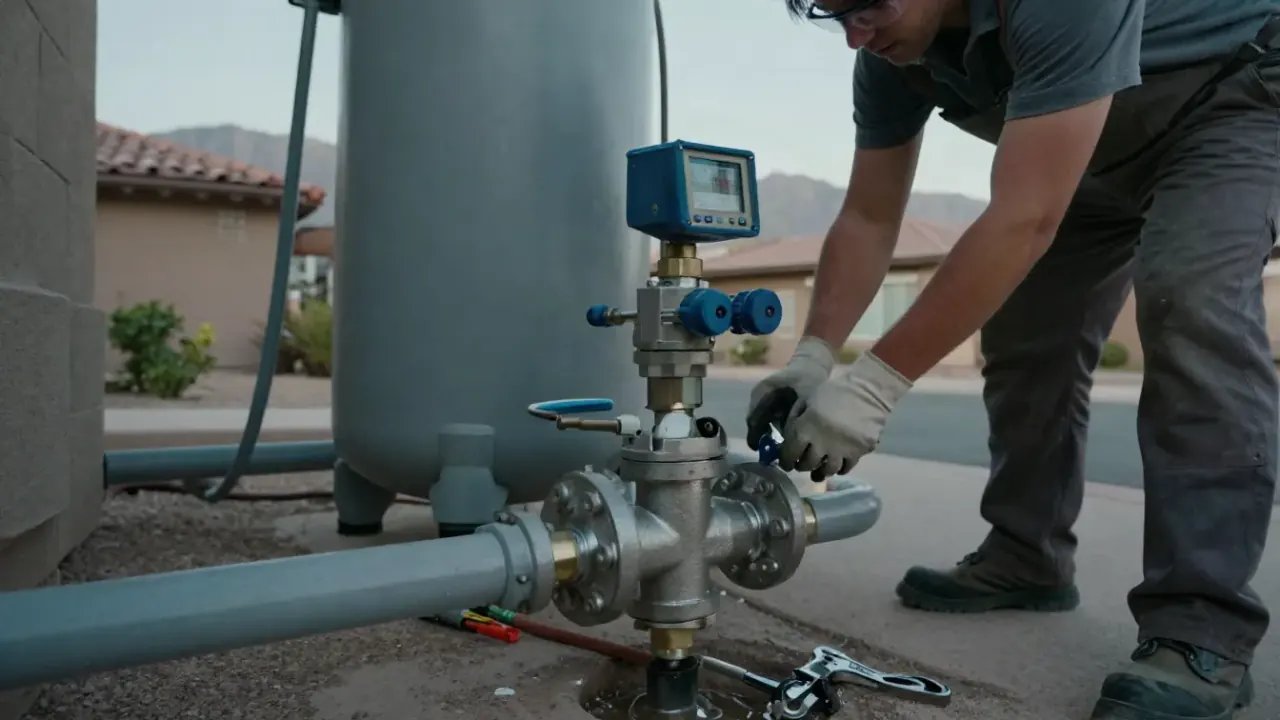
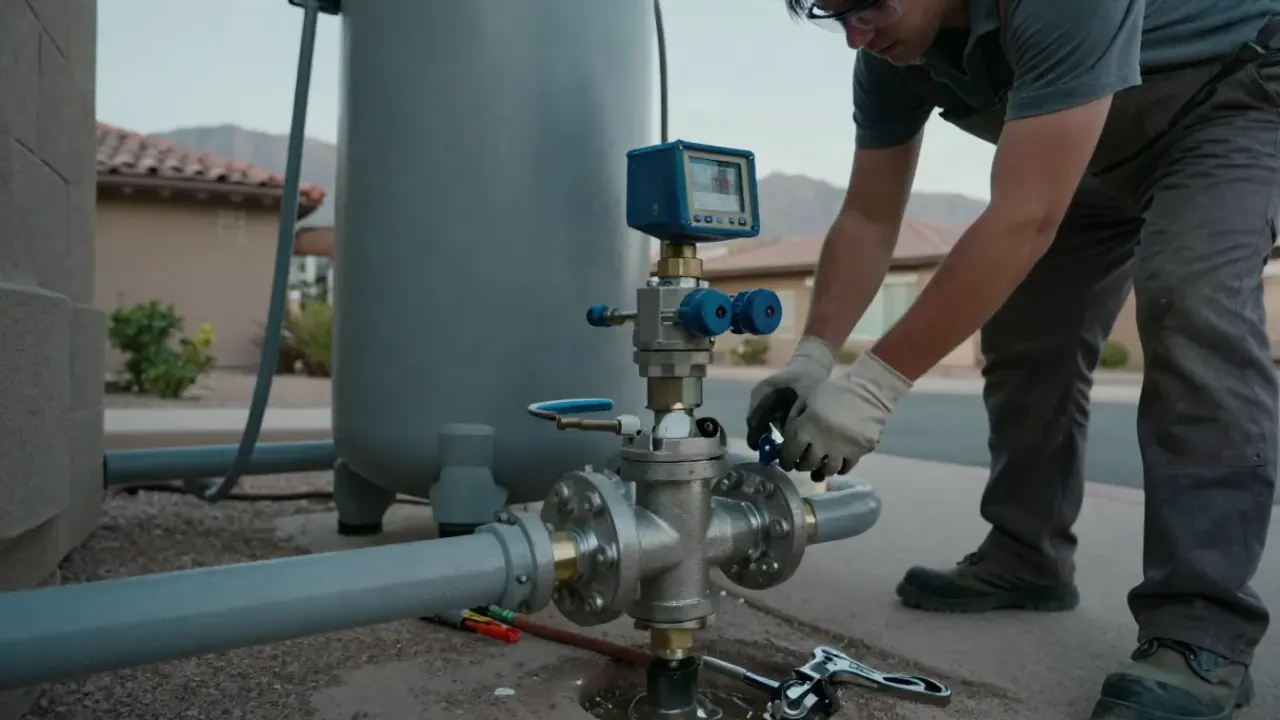
Water Softener in Queen Creek, Arizona: close-up of the pristine, newly installed bypass valve and control head of a water
Careful work. Honest options.
About this service

Drinking Water Filter Installation Queen Creek AZ Explained

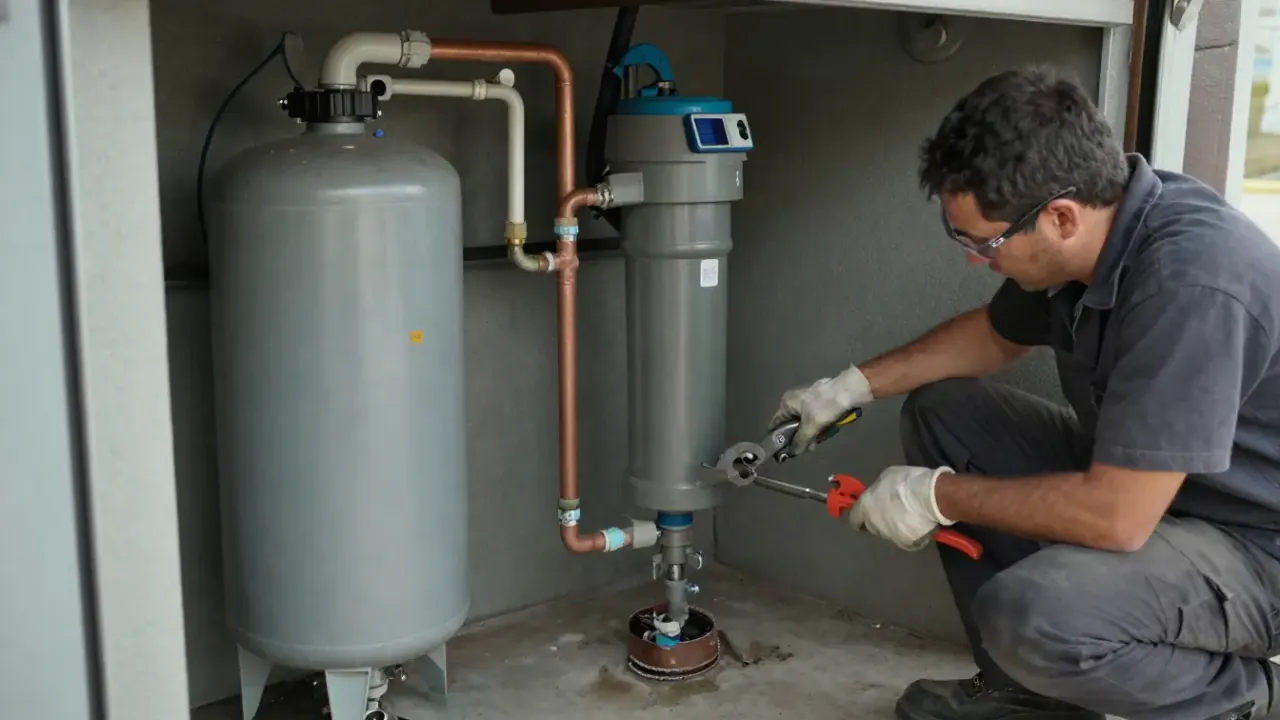
Drinking Water Filter Installation Queen Creek AZ is a point-of-use plumbing service that mounts a dedicated filter under your kitchen sink and runs clean water to a separate faucet on your counter. We tap into your cold-water line, install a filter housing with an activated carbon or RO membrane cartridge, and add a bypass valve so cartridge changes stay simple. The whole job usually takes two to four hours, and we pressure-test every connection before we pack up.

Queen Creek sits on some of the hardest water in Maricopa County, and even a well-maintained softener leaves behind sediment, chlorine byproducts, and trace minerals that affect taste. That's why so many homeowners here ask for drinking water filtration in Queen Creek, Arizona after they notice spotting on dishes or a flat taste in their coffee. A dedicated drinking water purifier installation Queen Creek AZ solves that at the glass, not the whole house.

  • ✓ Better Water, Instantly
  • ✓ Protects Your Appliances
  • ✓ Cuts Bottled Water Waste
  • ✓ Simple, Low-Cost Upkeep
What's included

What Our Drinking Water Filter Installation Includes

Every install covers the full job from water test to walkthrough. You're not paying extra for the basics, and we tell you upfront if something on your setup needs attention before we start.

✓

Water Test and Sizing

A hardness test kit and TDS meter reading at your kitchen tap, plus a check for sediment and iron. We use those numbers to recommend the right filter stages instead of guessing. Takes about 15 minutes and it's included in every quote.

✓

Filter Housing and Bypass

We supply and install the filter housing, mounting bracket, and a bypass valve so cartridge changes don't require shutting off the whole house. Fittings are pex or copper depending on your existing lines, and all connections are pressure-tested before we leave.

✓

Dedicated Drinking Faucet

If you want filtered water at its own tap, we drill and mount a dedicated drinking faucet on your countertop. That keeps filtered water separate from your regular tap and makes the system easy to use. Faucet hardware is included in the quoted price.

✓

Pressure Test and Leak Check

Every connection gets watched under full line pressure for 20 minutes. We check the housing, bypass, supply fittings, and faucet base. If anything weeps, we fix it on the spot. You should never find water in the cabinet after we leave.

✓

Maintenance Walkthrough

We show you how to shut off the bypass, pull and replace each cartridge, and reset the system. You get a written card with part numbers and change intervals. If you'd rather we handle changes, we offer that as a service too.

How it works

How Our Drinking Water Filter Installation Works

01

Water Test

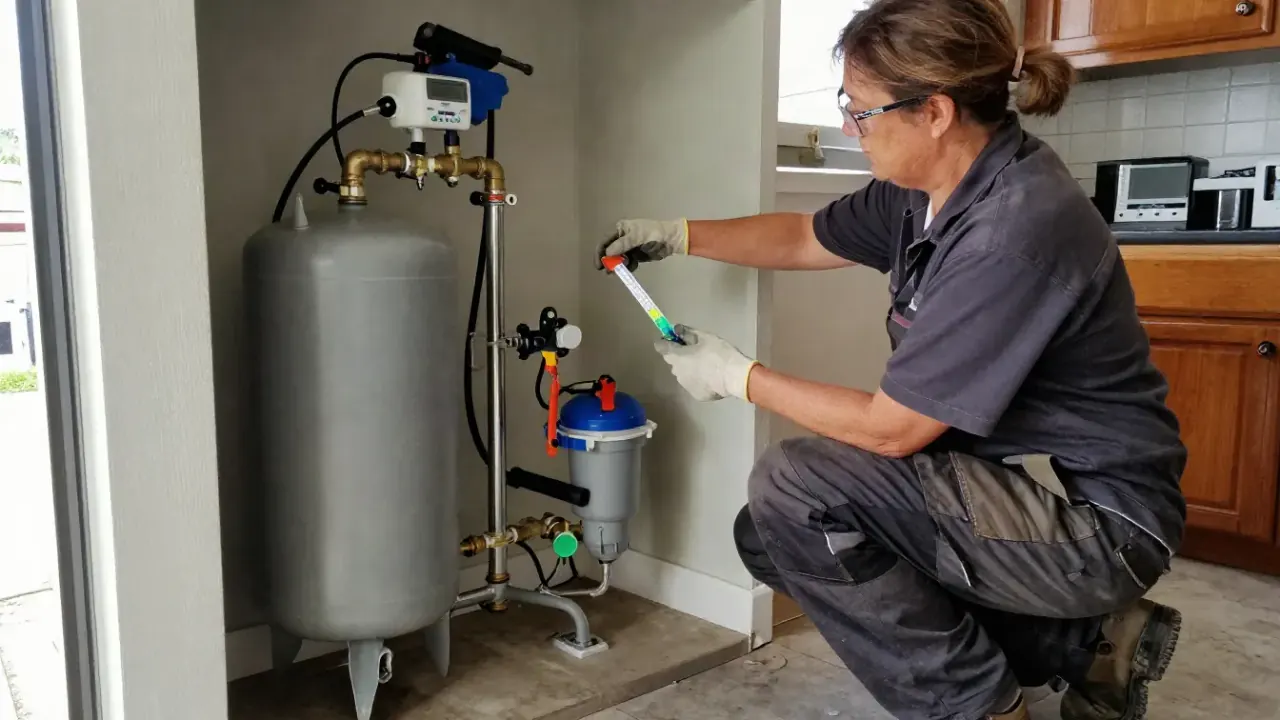
We start with a water hardness test kit and a TDS meter at your kitchen tap. That tells us your baseline hardness, total dissolved solids, and whether sediment or iron is present. The test takes about 15 minutes and gives us the numbers we need to size the right filter stages for your water, not a generic off-the-shelf setup.

02

System Selection

Based on your results, we walk you through two or three options: a two-stage carbon system, a three-stage with sediment pre-filter, or a full RO unit. We explain what each removes and what it costs to maintain. You pick, we order, and most systems are on the truck or arrive within a day or two.

03

Installation

We shut off the cold-water supply, cut into the line with a tubing cutter, and fit a bypass valve and filter housing using pex tubing or copper. If you want a dedicated drinking faucet, we drill the countertop and mount it. The install runs two to four hours depending on cabinet space and whether we're adding an RO tank.

04

Pressure Test

Every connection gets checked with a pressure gauge and watched for 20 minutes under full line pressure. We run the faucet, check for drips at the housing, the bypass, and the supply fittings, and confirm flow rate. If anything weeps, we fix it before we leave. You should never come home to a wet cabinet floor.

05

Walkthrough

We show you how to shut off the bypass, swap each cartridge, and reset the system after a change. You get a written maintenance card with cartridge part numbers and change intervals. If you ever get stuck, our number is on the card and we answer the phone.
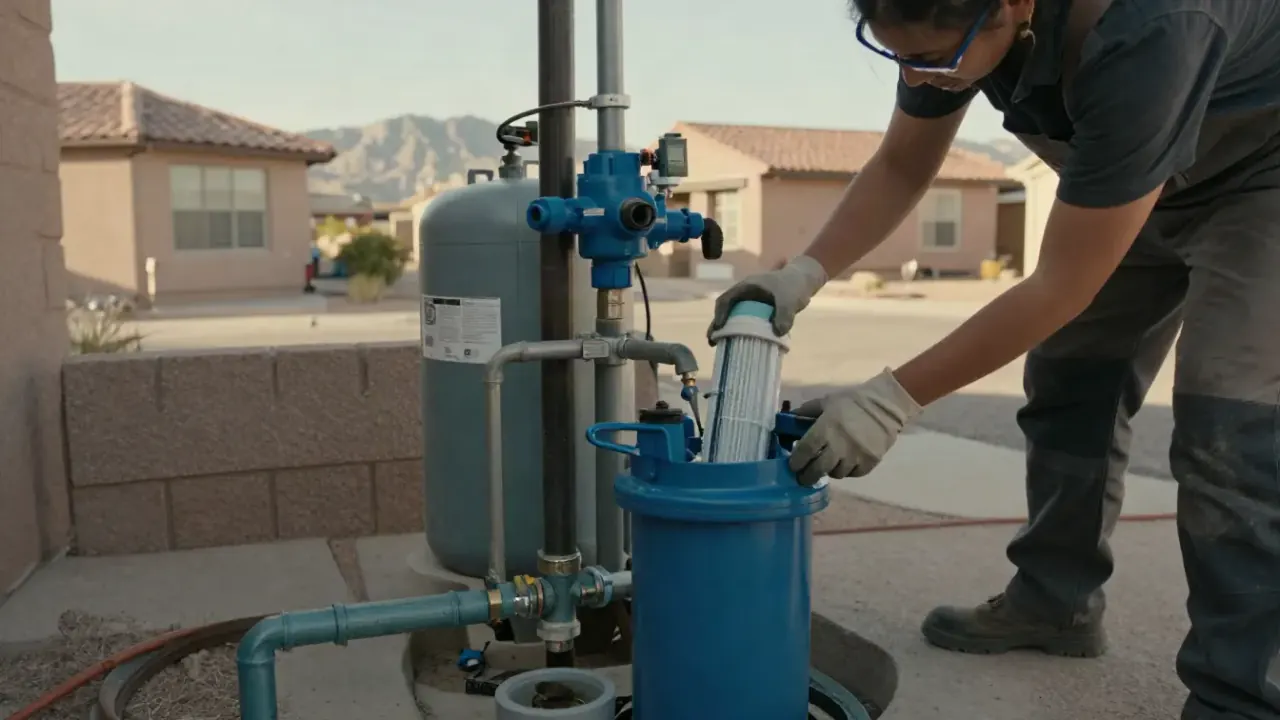
Tools & methods

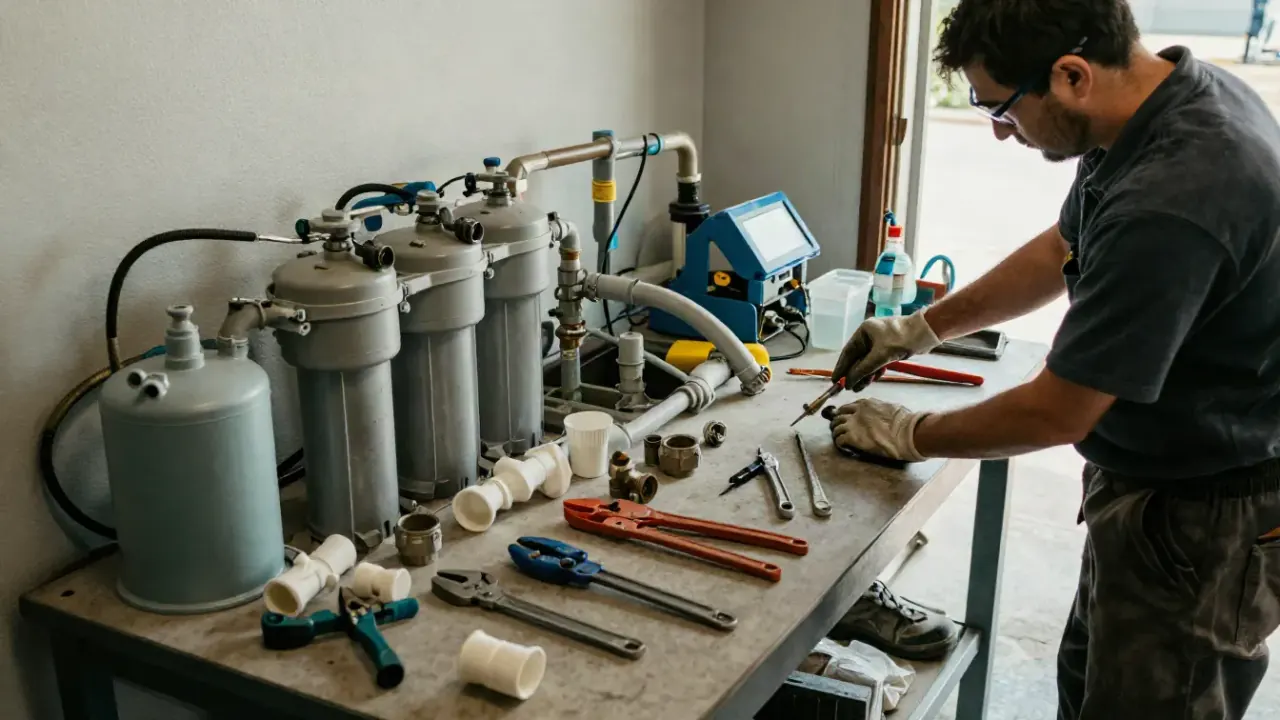
Tools and Methods We Use

Purpose-built equipment, used by trained technicians — so the job is done accurately the first time.

Water Hardness Test Kit

Measures calcium and magnesium levels at your tap so we can size the filter stages to your actual water instead of a generic recommendation.

TDS Meter

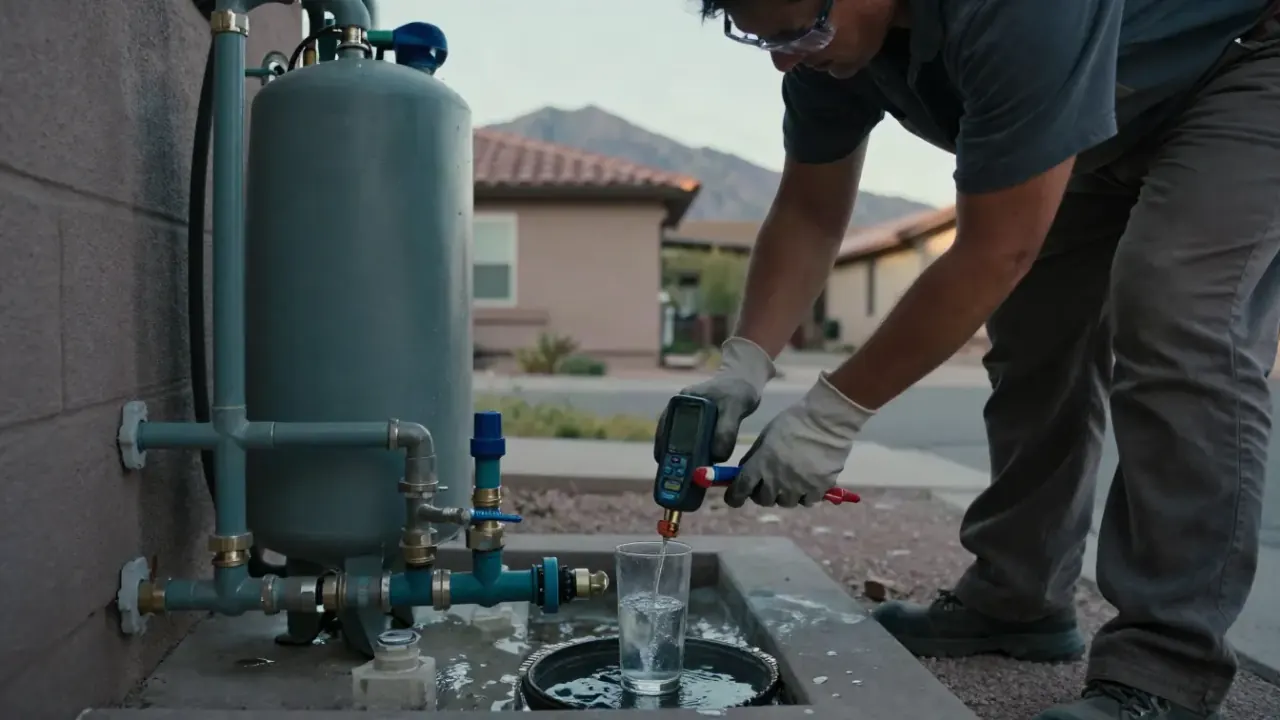
Reads total dissolved solids in parts per million. A high reading tells us whether a carbon filter is enough or you need an RO membrane.

Tubing Cutter and Soldering Torch

For clean cuts on pex tubing and copper lines. A square cut means a proper seal at the compression fitting, which is where most DIY installs leak.

Pressure Gauge

Confirms your home's line pressure and lets us watch the new assembly under load for 20 minutes before we call the job done.

Bypass Valve

Lets you isolate the filter for cartridge changes without shutting off water to the whole house. We install one on every job.

Brine Tank Vacuum

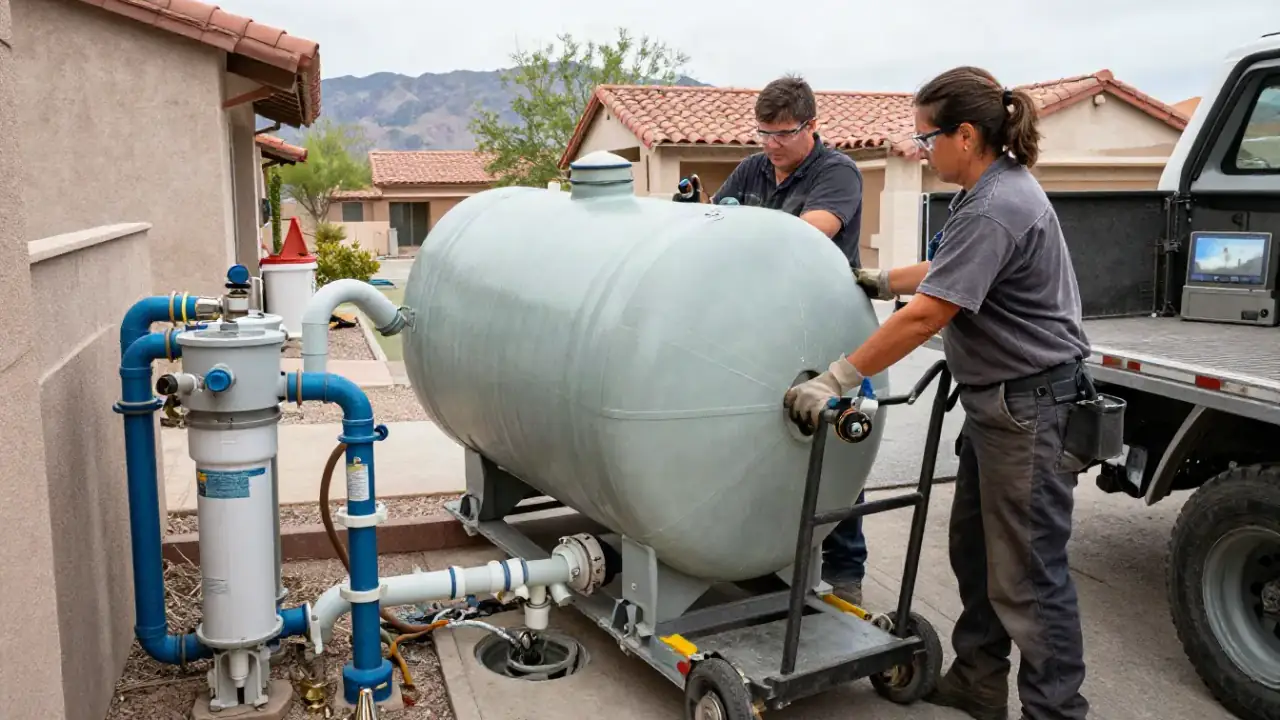
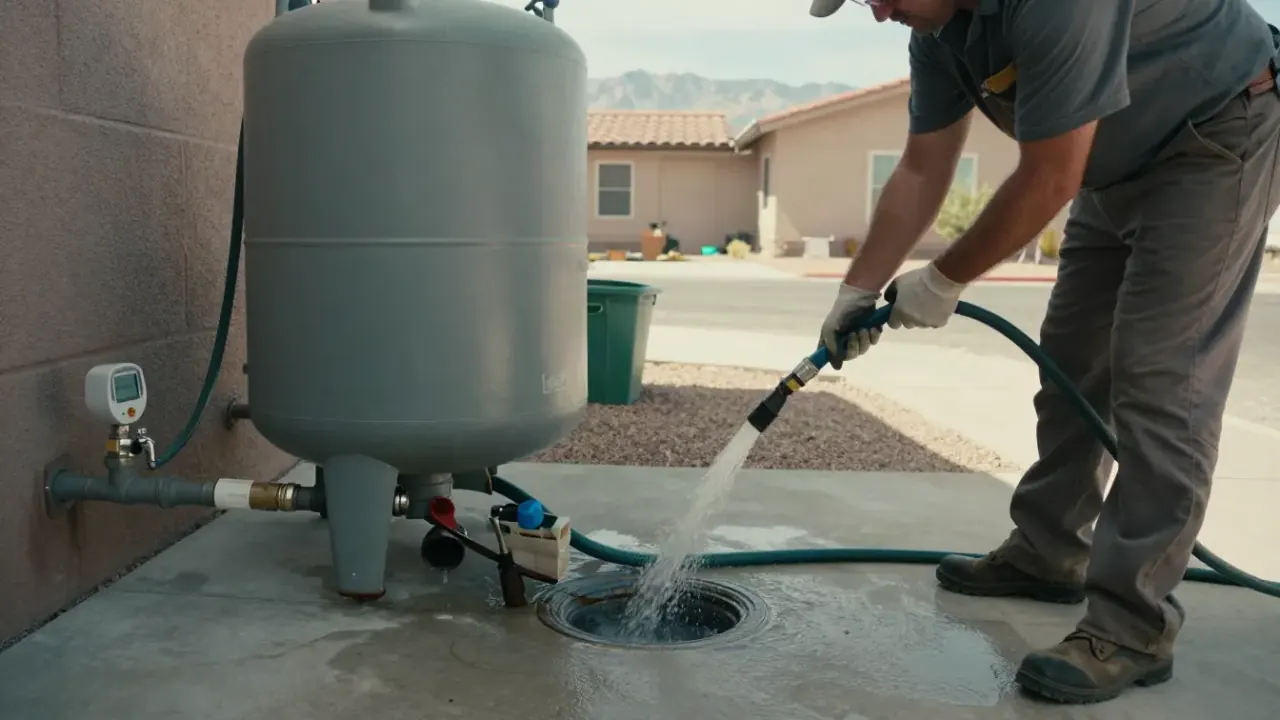
Used when we service your softener alongside the filter install. Pulls sludge and salt bridges out of the brine tank so the softener regenerates properly.

Real results

Before and after.

Flat-Tasting Water to Clean Pour

Before

A family in Ironwood Crossing was buying four cases of bottled water a week because the tap water tasted flat and chlorinated. Their softener was working, but it wasn't touching taste or dissolved solids. TDS read 410 ppm at the kitchen tap.

After

We installed a three-stage under-sink system with a dedicated drinking faucet. TDS dropped to 38 ppm, and the family stopped buying bottled water within the first week. Install took three hours and passed the 20-minute pressure test with no drips.

Leaking Housing Replaced Same Day

Before

A homeowner in Hastings Farms called about a slow drip under the kitchen sink. The old filter housing was cracked at the threads and the cabinet floor was starting to warp. The unit used discontinued cartridges that were hard to find locally.

After

We swapped in a current-model housing, added a bypass valve the home didn't have, and pressure-tested the assembly for 20 minutes. The drip stopped, the cabinet dried out, and the homeowner can now buy cartridges at any local supplier.

Hard Water Scale to Clean Glassware

Before

A household in Encanterra was seeing spotting on dishes and a chalky film in their kettle. Their softener's brine tank had a salt bridge and wasn't regenerating properly, so hard water was reaching the kitchen and loading up the old filter.

After

We cleared the salt bridge, vacuumed the brine tank, refilled with fresh brine salt pellets, and installed a new sediment and carbon stage under the sink. Spotting stopped within a week, and the kettle came clean with a single descale.

Problems we solve

Problems a Drinking Water Filter Fixes

These are the complaints we hear most from Queen Creek homeowners before they book an install. Each one has a straightforward fix.

Ask a pro →
01

Tap water tastes flat or chlorinated

We install an activated carbon stage that strips chlorine and odor compounds at the point of use. Most customers notice the difference on the first glass. If TDS is high, we add an RO membrane to handle dissolved solids too.

↗
02

Sediment and grit in the water

A sediment pre-filter catches particles before they reach the carbon stage or your appliances. We size the micron rating to your water test results, so you're not replacing cartridges every other month.

↗
03

Hard water scale in the kitchen

We pair your drinking filter with scale protection and, if needed, service the softener so hard water is treated before it reaches the kitchen. The filter then handles taste and dissolved solids, and the softener handles the minerals.

↗
04

Old filter housing leaking under the sink

We replace cracked housings, add a bypass valve if you don't have one, and pressure-test the whole assembly. If the old unit used discontinued cartridges, we swap it for a current model so you can still buy filters locally.

↗
Transparent pricing

What Drinking Water Filter Installation Costs

$400 - $1,500 depending on system and scope

Typical 2026 pricing in Queen Creek runs $400 to $1,500 for a full install, depending on the system you choose and how your kitchen is plumbed. Labor and fittings alone usually land between $250 and $650. If you already own the filter, expect $250 to $450 for installation. We quote a flat price before we start, so you know the number before we open the cabinet. No trip charges, no hourly surprises.

You're paying for a tested, code-correct install that won't leak, plus a system sized to your actual water. A cheap install that drips or a filter that doesn't match your TDS costs more in the long run than doing it right once.

01System Type

A two-stage carbon filter costs less upfront than a four- or five-stage RO system with a storage tank and drain line. RO handles more contaminants, so the equipment and labor both run higher. We'll show you the trade-off in plain numbers.

03Faucet Addition

Adding a dedicated drinking faucet means drilling the countertop and running a second line. It's a small add-on, usually $50 to $150, and worth it if you want filtered water at its own tap.

04Supply Line Material

Pex is faster to work with than copper, which needs soldering. If your home has copper and the run is long, expect a bit more labor. We carry fittings for both on the truck.

Proof you can check

Licensed, Certified, and Reviewed

✓
Arizona Registrar of Contractors (ROC) LicenseArizona Registrar of Contractors
✓
Backflow Prevention CertificationArizona Department of Environmental Quality approved program
✓
NSF/ANSI 42 and 44 Listed EquipmentNSF International
✓
WQA Gold Seal ProductsWater Quality Association
✓
IAPMO Certified ComponentsInternational Association of Plumbing and Mechanical Officials
Customer reviews

What Queen Creek Homeowners Say

★★★★★
“Our water tasted flat even with a softener running, and the coffee was never right. The tech tested our TDS, showed us the numbers, and installed a three-stage under-sink system in about three hours. First glass of water actually tasted cold and clean. He left a card with the cartridge numbers and a change schedule. No upsell, just the right setup.”
MT

Marcus T.Homeowner, Ironwood Crossing

✓ Verified
★★★★★
“Called about a slow drip under the sink from our old filter housing. They came out same day, found the housing was cracked, and had a replacement on the truck. Swapped it, added a bypass valve we didn't have, and tested the line. Flat price, no surprises. These guys know water systems, not just plumbing.”
RM

Ray M.Homeowner, Hastings Farms

✓ Verified
Good questions

Frequently Asked Questions

(480) 337-3003 →

Most under-sink installs run $250 to $650 in labor and fittings, plus $150 to $900 for the system itself, so a typical 2026 job lands between $400 and $1,500. RO systems sit at the higher end because of the storage tank and drain line. If you already own the filter, expect $250 to $450 for installation alone.

For most Queen Creek homes, a three-stage system with a sediment pre-filter, carbon block, and RO membrane is the best drinking water filter for Queen Creek hard water. The sediment stage catches the grit that hard water carries, the carbon handles taste and odor, and the RO membrane removes dissolved solids. If your TDS reads under 250, a two-stage carbon setup is often enough.

Yes, and here's why. A softener swaps calcium and magnesium for sodium through ion exchange resin, but it doesn't remove sediment, chlorine, or dissolved solids from your drinking water. A drinking water filter handles what the softener leaves behind. The two work as a pair, and most of our customers run both.

Sediment and carbon cartridges need changing every six to twelve months, and RO membranes every two to three years. Queen Creek's hard water pushes most homes toward the six-month end for the sediment stage. If your flow slows or the taste changes, that's your cue. We leave a written schedule so you don't have to track it.

Ready when you are

Book Your Drinking Water Filter Installation Queen Creek AZ

Licensed, insured, and warrantied for 12 months on labor. Call (480) 337-3003 and we'll test your water, quote a flat price, and get your filter installed, often the same day.

Get a Free Quote (480) 337-3003 →
Request an appointment

Call Queen Creek Water Softener

Reach us at (480) 337-3003 Monday through Friday, 8 a.m. to 6 p.m., and we will book your free water test. Most Queen Creek calls get a same-day slot if you ring before noon. Leave a message after hours and we call back first thing the next morning.

Call anytime(480) 337-3003Email the office[email protected]
Office hoursOpen 24 hours · 7 days a week
Request received — our team will be in touch shortly.
Tap to call(480) 337-3003